
Greg’s ‘69 Ram air iii GTO
Greg is a GTO fanatic. Particularly, a big fan of the 1969 model year. This one isn’t his first, but he wanted this one to be as close to perfect as one can get. I am honored he trusted me to take it there! I have done several smaller projects for him over the years and after discussing this project, it became obvious to both of us that we were on the same page when it came down to what he wanted for this car - Attention to getting the details right. Correct metal work. Excellent fit and finish. Laser flat body work.
I will admit, he has made my work easier. He has done a ton of research and knows these cars inside and out. If I have a question, I can go directly to him first. He also has skilled hands too. He did the chassis restoration himself. Believe me when I say this isn’t your average “customer performed restoration.” Every bolt has the correct markings. Transmission linkages re-plated with the correct color zinc. Every part has been taken care of with professional level skill. The chassis is as right as right can get.
Enter my job: Take care of the body restoration. This GTO had a very, very strong foundation. The floors in the car were actually perfect, not one pinhole to weld closed. The exterior was not awful either, but it had its issues. Left lower quarter rusting out, right quarter had collision damage, tail light pocket had been hit, left door was riddled with dents, and the typical lower fender rot. There were plenty of surprises along the way.
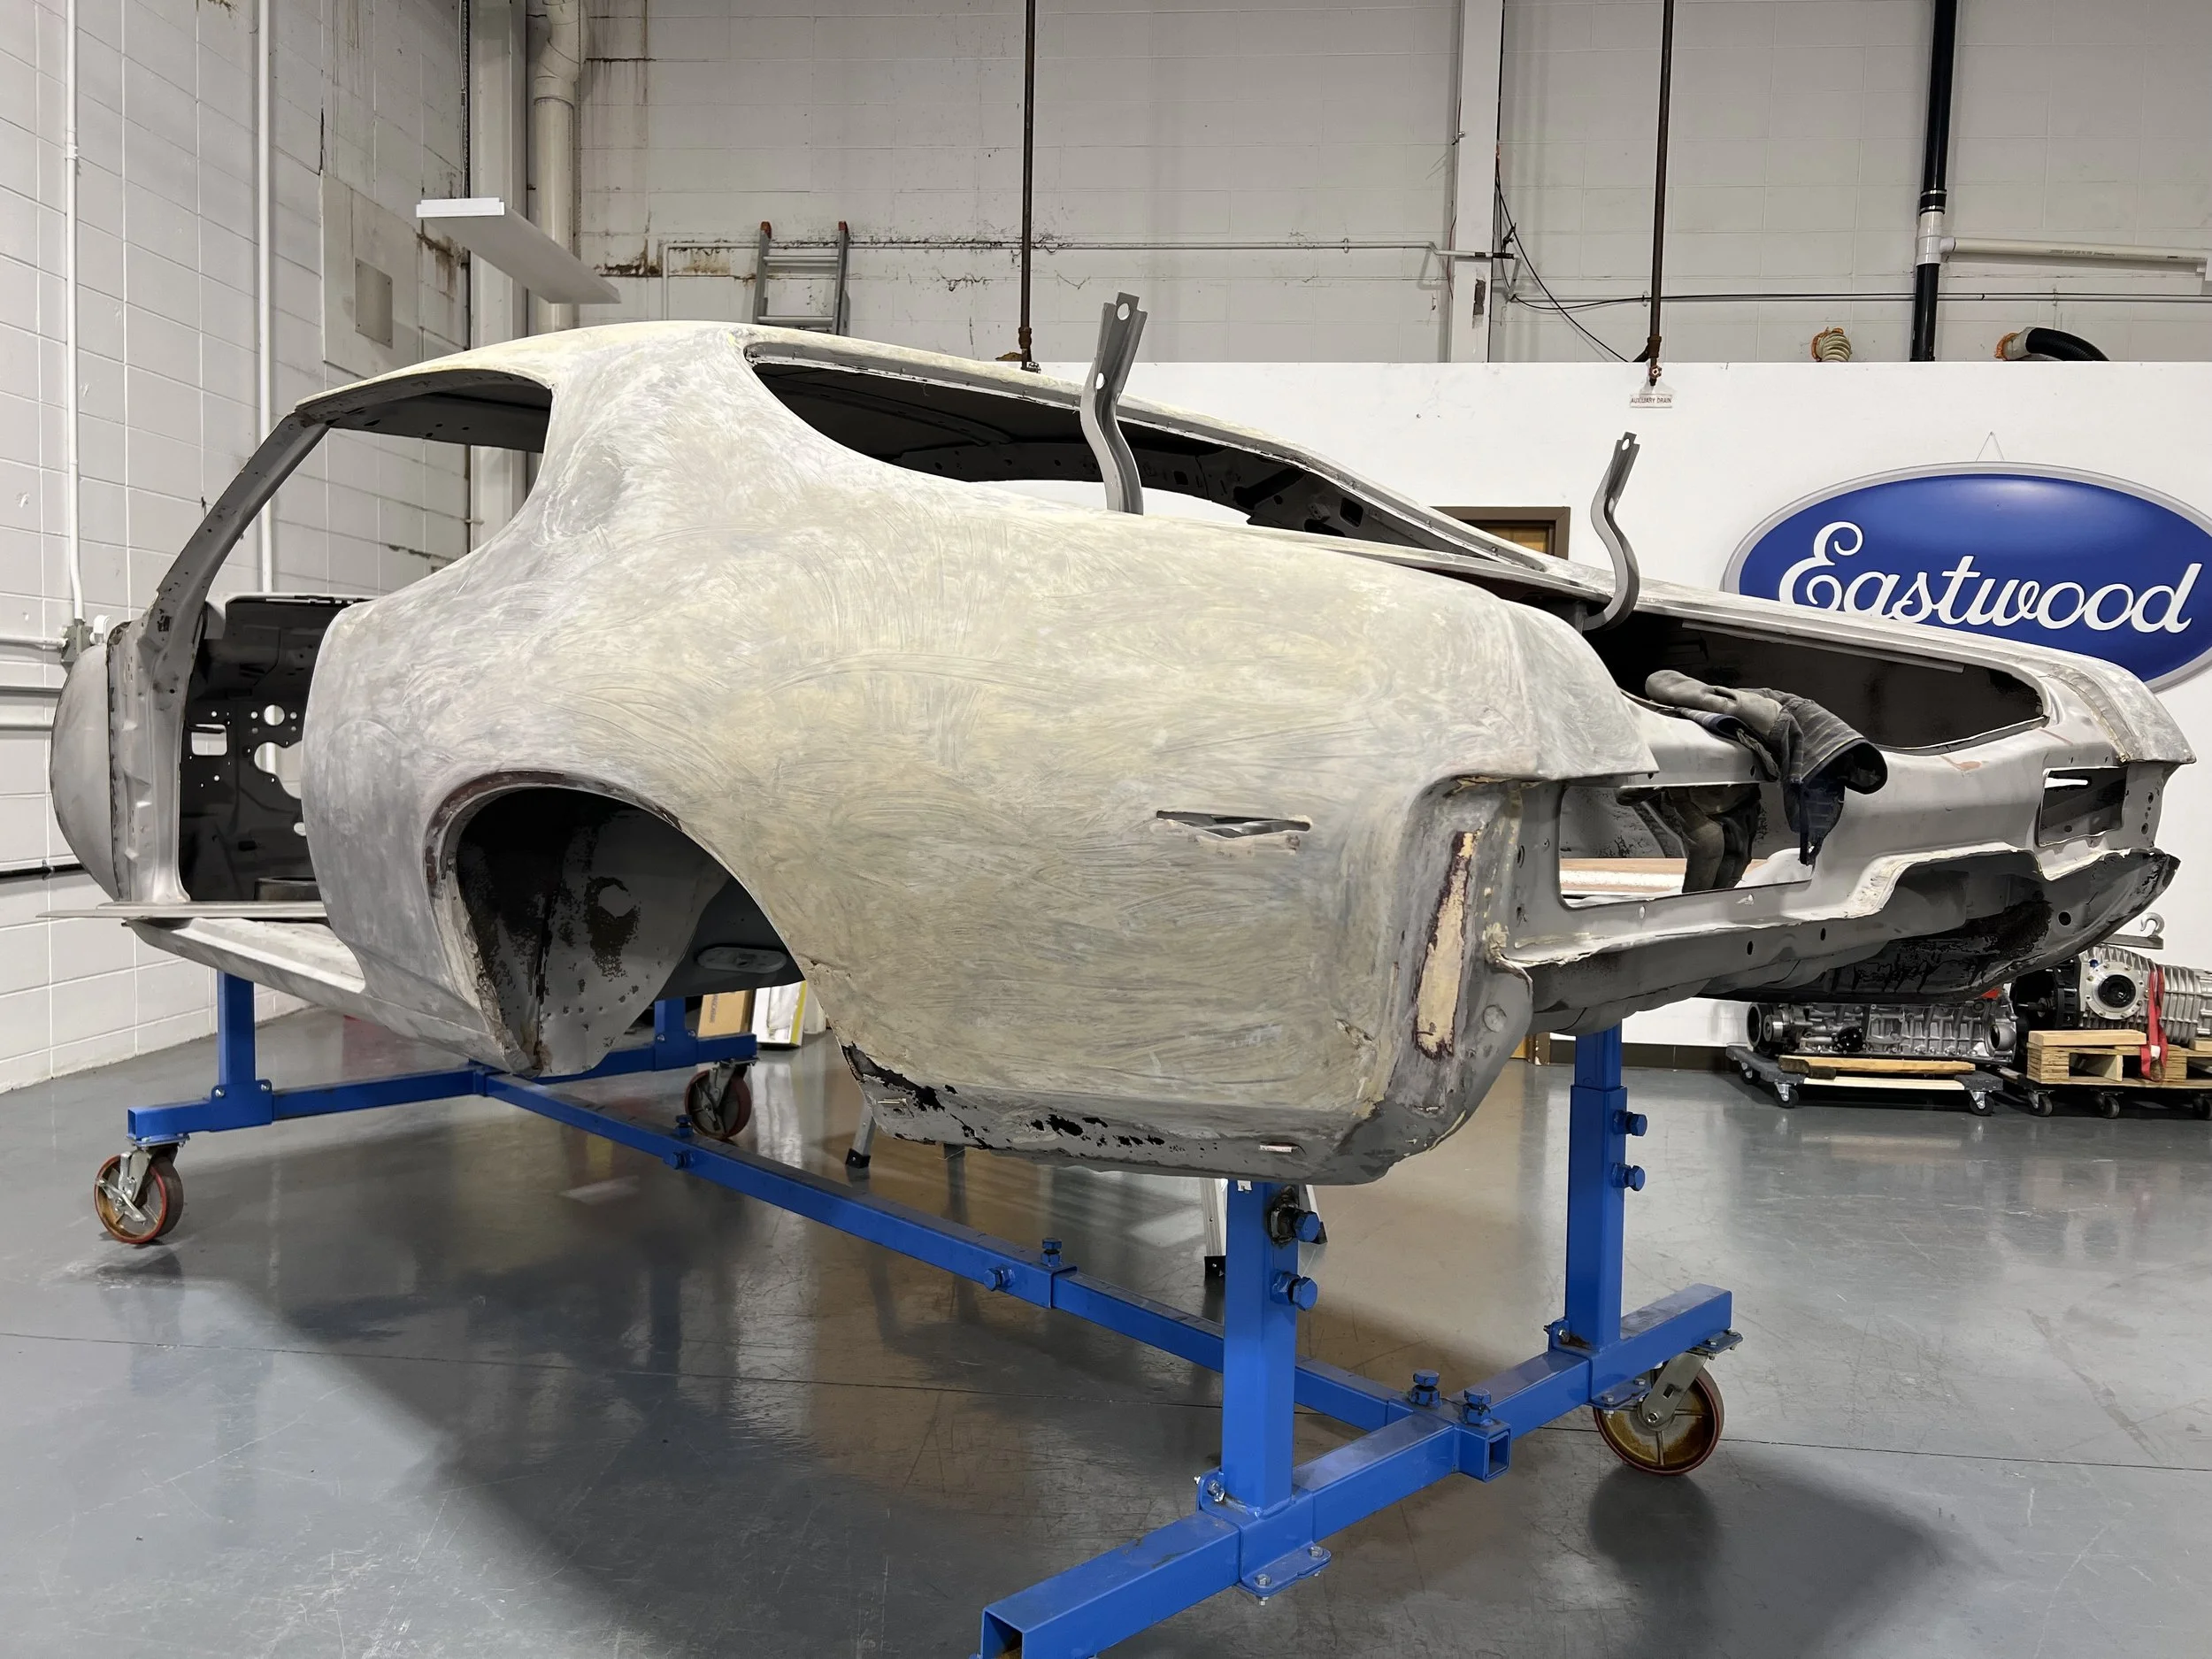
This photo dates back to February 2026. The metal work was completed with the body on a loaded chassis so all the panels could be aligned and properly gapped in metal. Since this photo was taken, the body has come back off the chassis, put onto the rotisserie, touch-up blasted, sprayed inside and out with epoxy primer, the inside sprayed with red oxide urethane, off the rotisserie, back onto the chassis, panels back on and adjusted, and now in the body work stages!
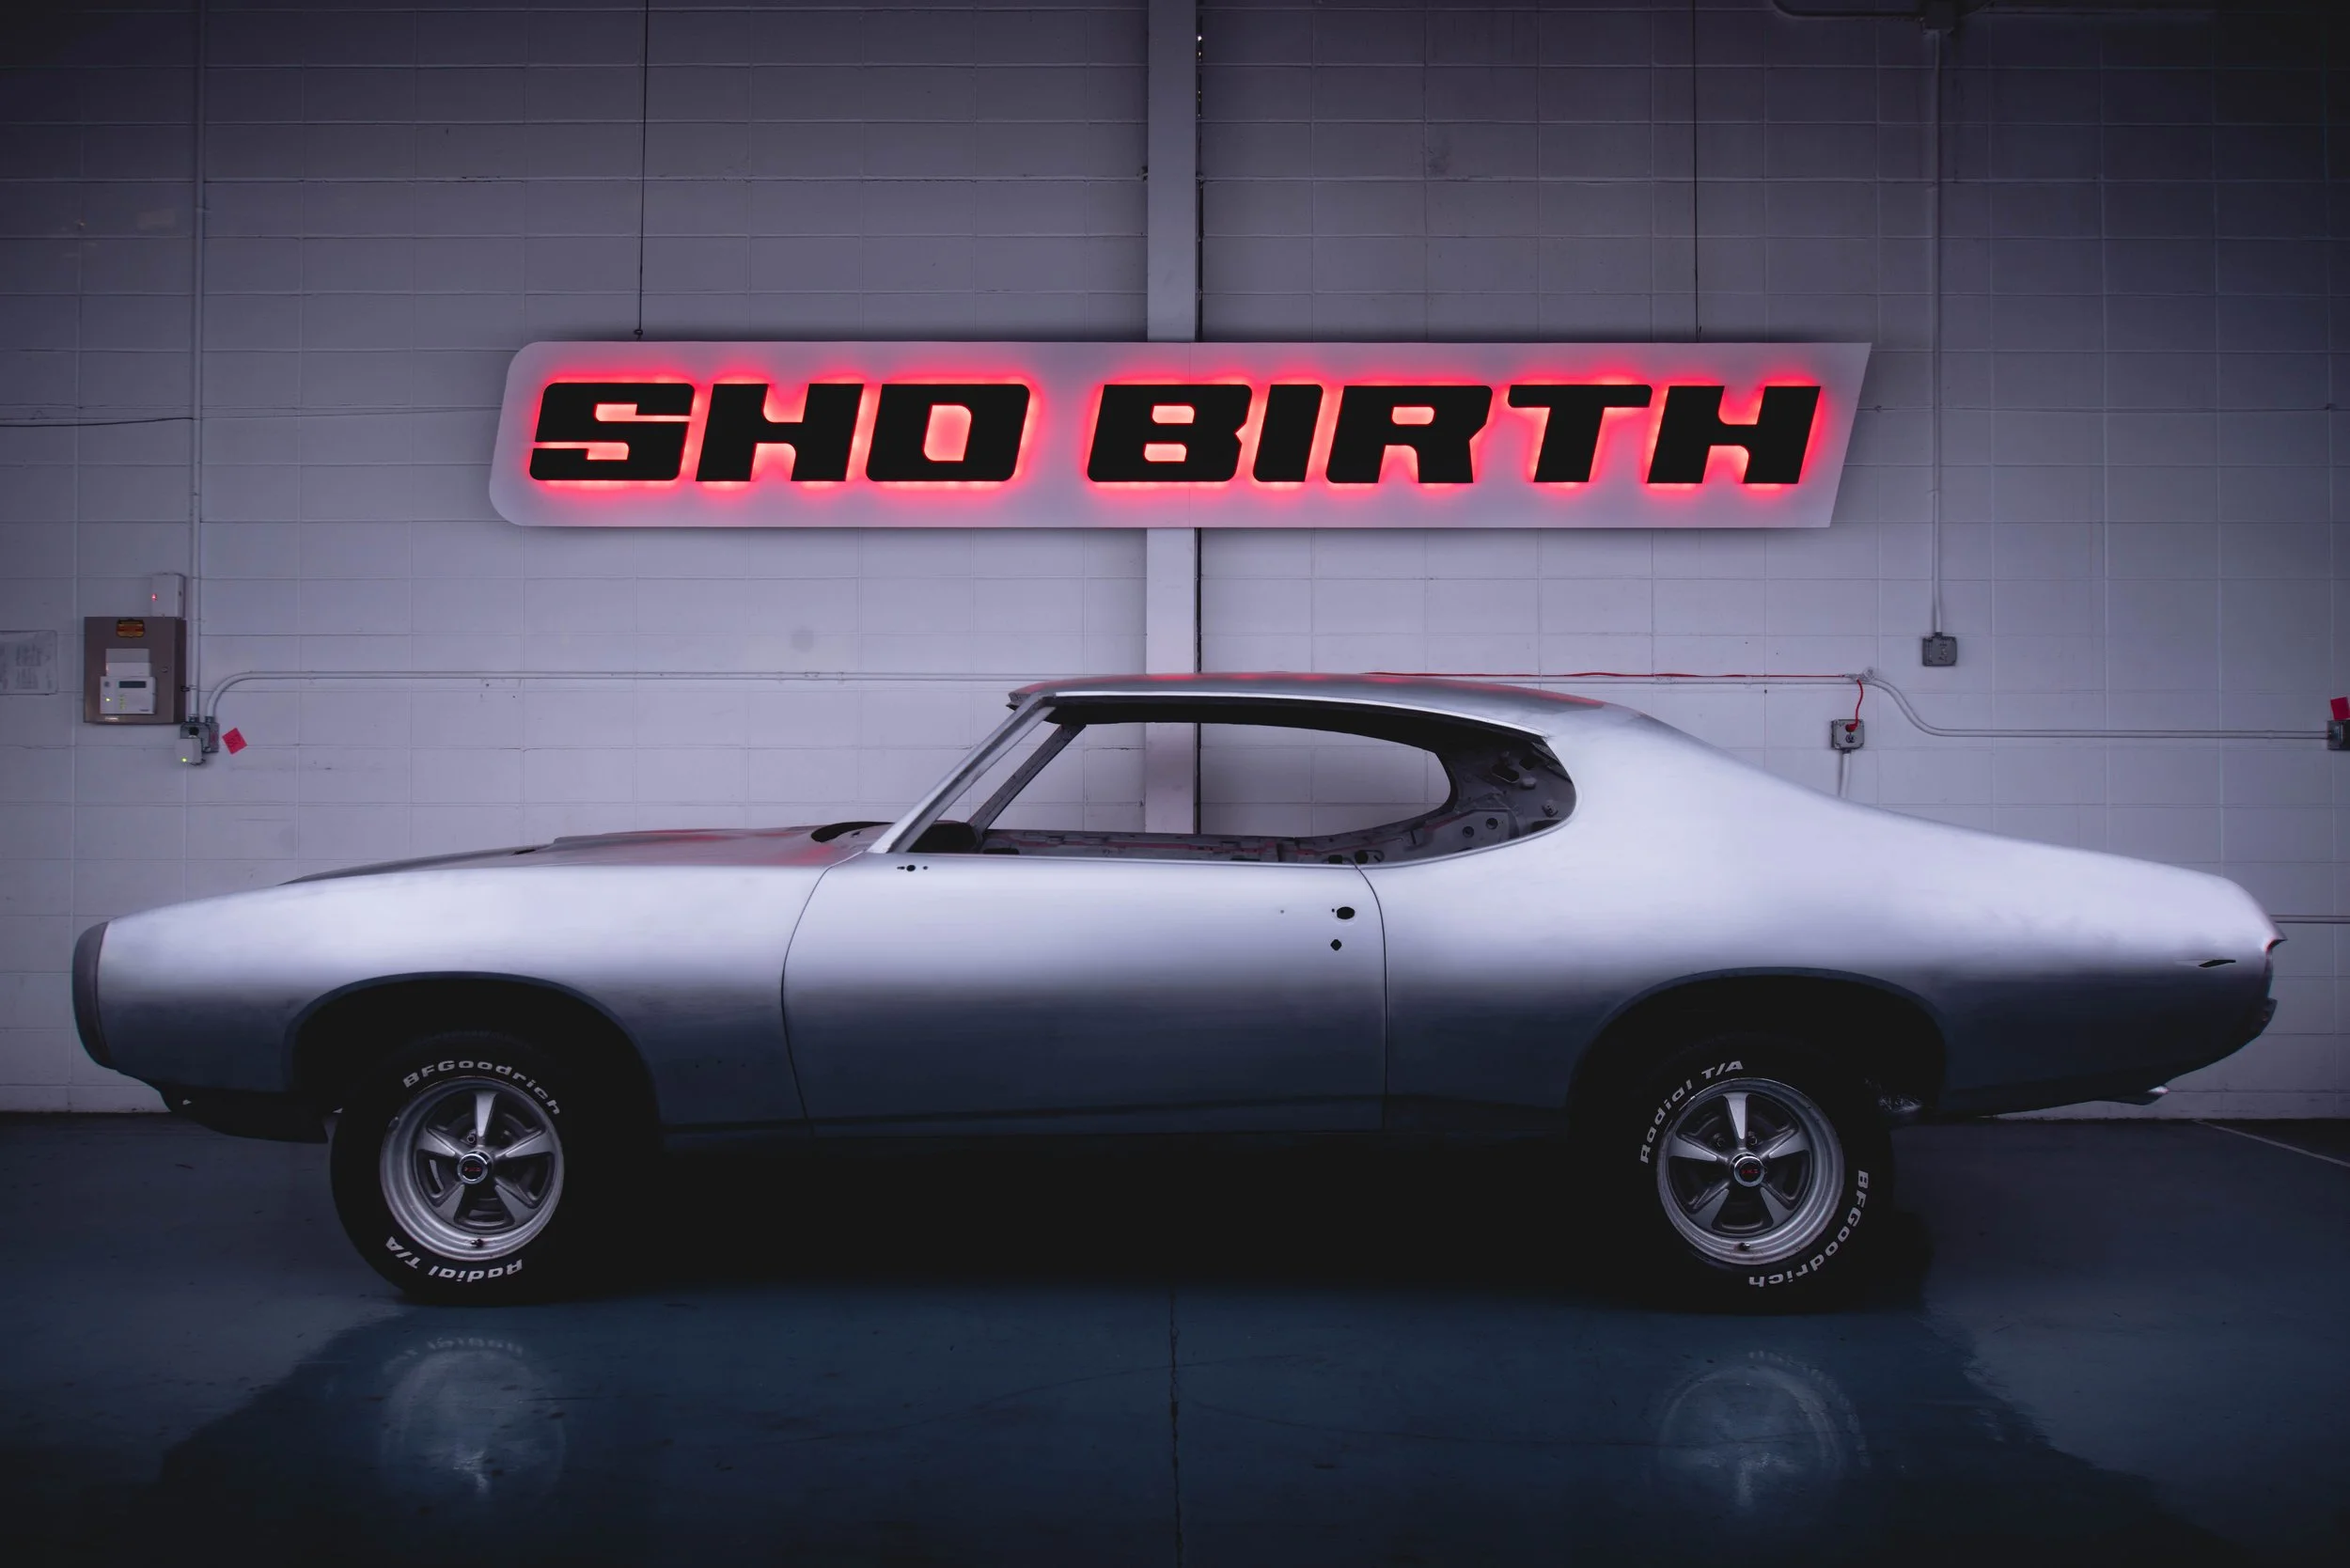
How the GTO arrived to Sho Birth in late October 2025.
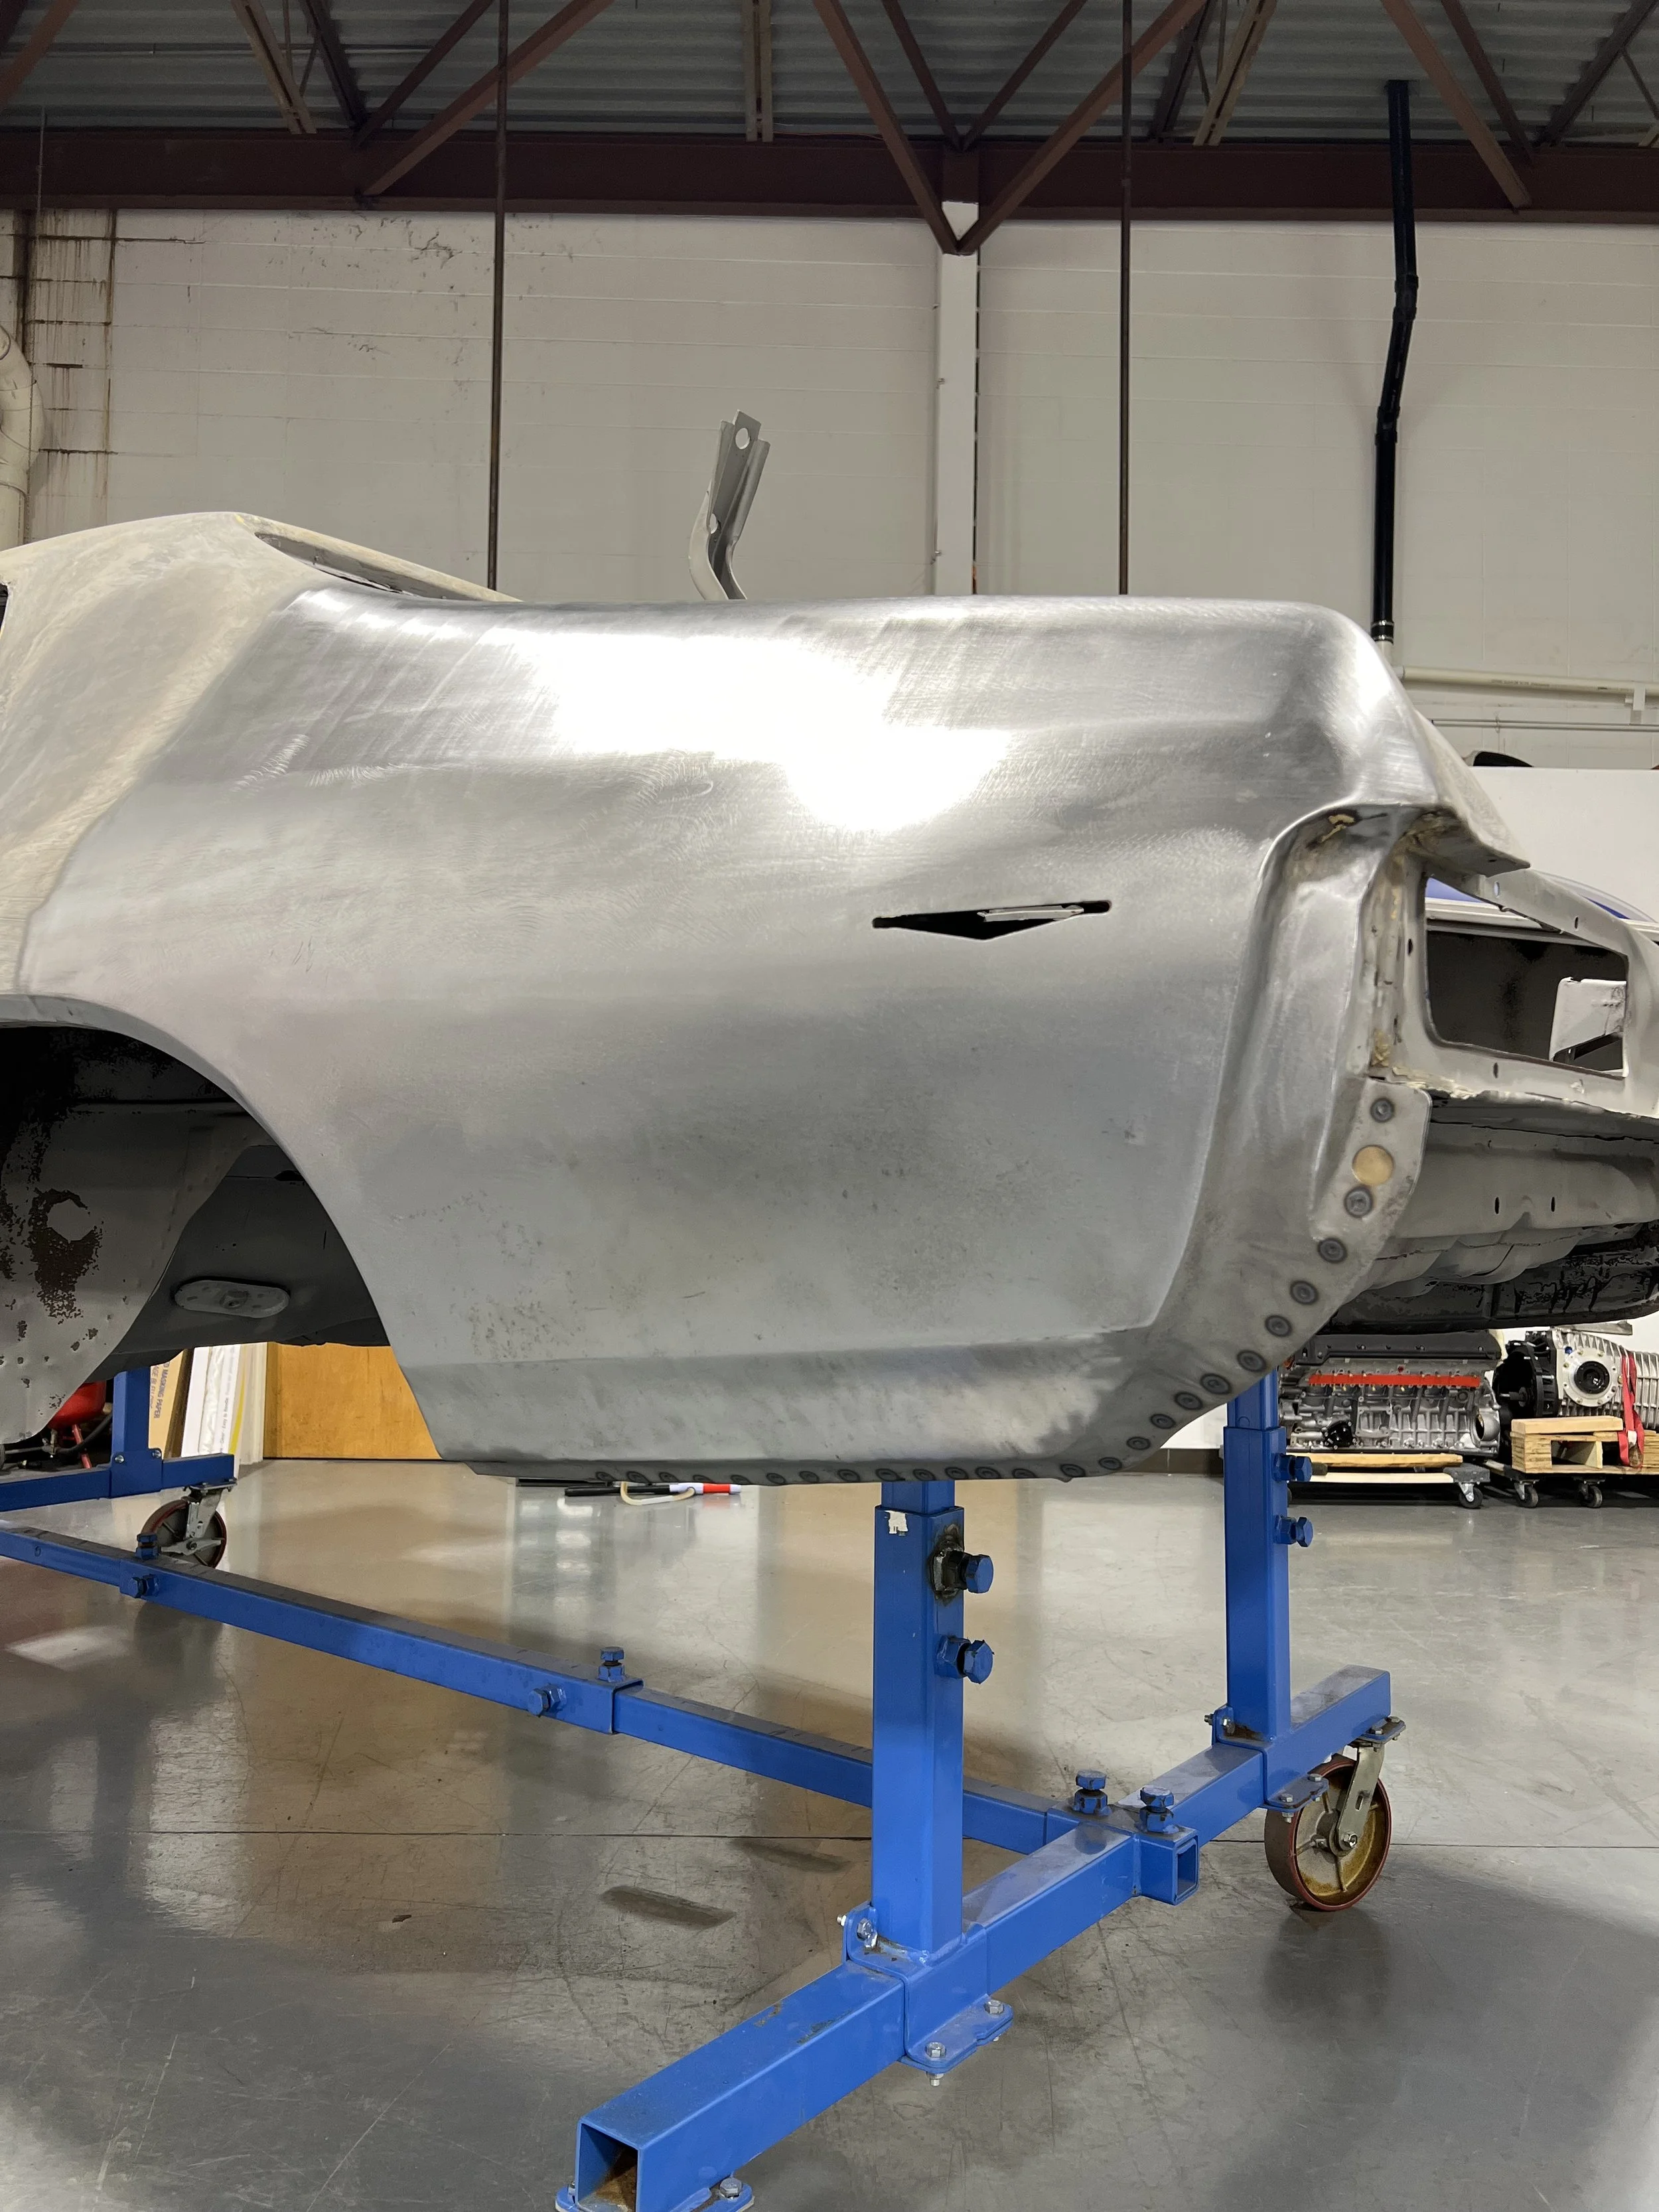
Repairing sheet metal the only way we know how. Fully butt-welded seams, ground and planished smooth for a seamless repair inside and out and using a spot welder to replicate the factory original welds on the pinch weld seams. When the car is completely done, no expert will be able to tell the quarter panel was cut through the middle and replaced.
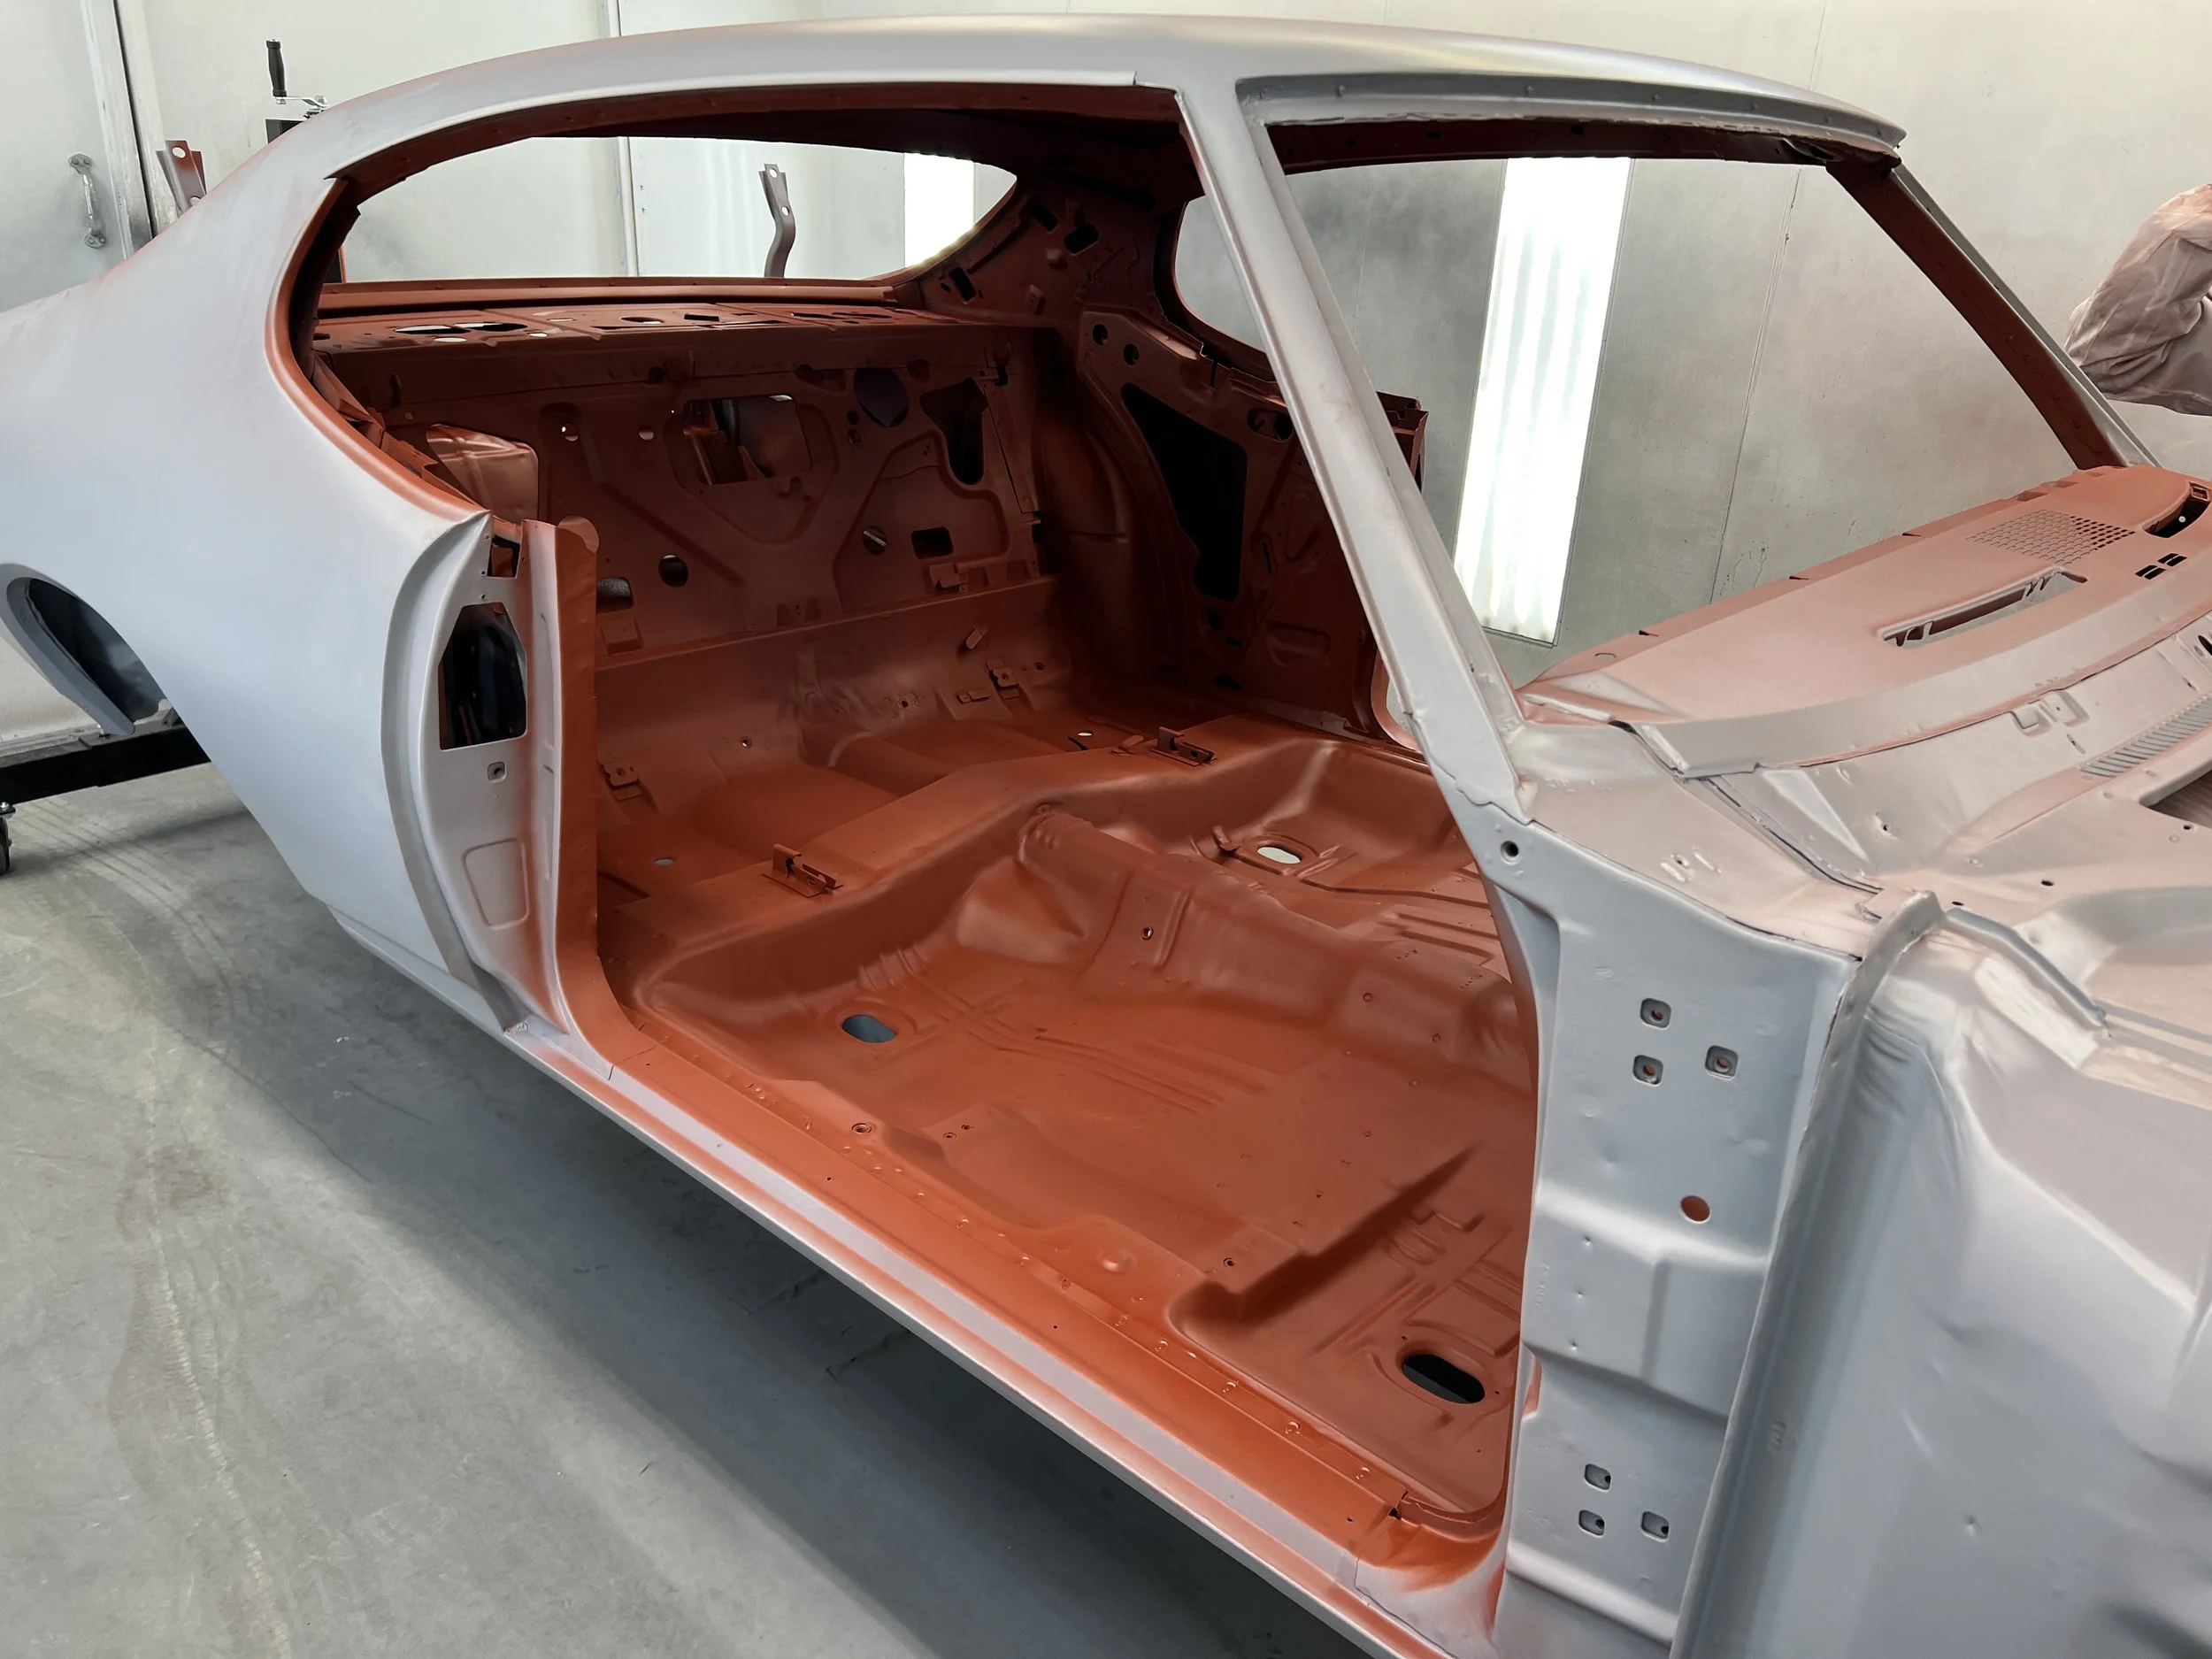
The car from the factory was prayed with red oxide primer. 95% of it will not be visible when the car is assembled, but for the sake of doing it how it would have looked from the factory, the small amount of extra effort is worth it. When the car gets painted, the exterior paint will be over-sprayed into the door jambs onto the red oxide. Some of this red will be visible under the dash, under the package tray and around the trunk hinges.
As the car progresses along, we will be sure to keep you updated here! Check back soon to see it’s next update!